How to embroider jeans? Embroidering jeans is a creative and fun way to personalize your wardrobe, turning an ordinary pair of denim into a unique piece of wearable art. Whether you’re a beginner or an experienced embroiderer, this guide will walk you through the process of adding intricate designs, colorful patterns, or meaningful motifs to your jeans. From selecting the right tools to mastering stitching techniques, we’ll cover everything you need to know to successfully embroider jeans.
Why Embroider Jeans?
How to embroider jeans? Before diving into the how-to, let’s explore why embroidery on jeans has become so popular:
- Personalization: Embroidery allows you to express your individuality by adding custom designs that reflect your personality or interests.
- Upcycling: Transform old or plain jeans into something fresh and exciting, giving them a new lease on life.
- Trendy Appeal: Embroidered jeans are a fashion-forward trend, blending vintage charm with modern aesthetics.
- Creative Outlet: Embroidery is a relaxing and meditative activity that lets you experiment with colors, textures, and patterns.
Gathering Your Supplies
How to embroider jeans? To begin embroidering jeans, you’ll need the right tools and materials. Here’s a list of essentials:
Fabric and Jeans
- Choose a pair of jeans made from sturdy denim. Lighter-weight denim is easier to work with but may require extra stabilization.
Embroidery Thread
- Use high-quality embroidery floss (like DMC) in various colors to match or contrast with your jeans.
Needles
- Select embroidery needles with sharp points and large eyes to accommodate multiple strands of thread.
Hoop
- A small embroidery hoop helps keep the fabric taut while you stitch. Adjustable hoops are ideal for working on curved areas like pockets or legs.
Scissors
- Sharp embroidery scissors are essential for trimming threads cleanly.
Stabilizer
- Use a water-soluble or tear-away stabilizer to prevent puckering, especially when working on stretchy denim.
Transfer Tools
- Options include washable fabric markers, chalk pencils, iron-on transfer paper, or stencils to transfer your design onto the jeans.
Optional Accessories
- Thimble (to protect your fingers), needle threader, and pins/clips to secure layers of fabric.

Choosing and Transferring Your Design
The design you choose will define the look of your embroidered jeans. Here’s how to select and transfer it effectively:
Selecting a Design
- Start simple if you’re a beginner—geometric shapes, flowers, or small motifs are great choices.
- For advanced embroiderers, intricate patterns or detailed portraits can add a wow factor.
- Consider the placement: pockets, cuffs, knees, or back panels are common spots for embroidery.
Transferring the Design
- Iron-On Transfers: Print or trace your design onto iron-on transfer paper, then press it onto the jeans using an iron.
- Chalk Pencils/Fabric Markers: Draw directly onto the fabric. Test the marker on a hidden area first to ensure it washes out.
- Stencils: Place a stencil over the jeans and trace around it with a pencil or marker.
- Freehand Drawing: If you’re confident in your drawing skills, sketch the design freehand.
Preparing the Jeans for Embroidery
Proper preparation ensures smooth stitching and prevents damage to the fabric.
Secure the Area
- Insert cardboard, foam, or a thick towel inside the leg of the jeans to provide stability and prevent stitches from penetrating both layers of fabric.
Add Stabilizer
- Apply a stabilizer to the backside of the area where you’ll be embroidering. This prevents stretching and distortion during stitching.
Frame the Fabric
- Stretch the fabric tightly in an embroidery hoop, ensuring there are no wrinkles. Tight tension is key to clean, even stitches.
Basic Embroidery Stitches to Master
Learning a few basic stitches will give you the foundation to create beautiful designs. Here are some commonly used stitches:
Backstitch
- Ideal for outlines and fine details. Create straight lines by bringing the needle up through the fabric, then inserting it slightly behind the previous stitch.
Satin Stitch
- Perfect for filling in solid shapes. Work closely spaced parallel stitches side by side to cover the desired area.
French Knots
- Great for creating dots or textured accents. Wrap the thread around the needle twice before inserting it back into the fabric near the starting point.
Chain Stitch
- Produces a decorative, linked effect. Pull the needle through the fabric, loop the thread under the needle, and repeat to form a chain-like pattern.
Lazy Daisy Stitch
- Similar to the chain stitch but forms petals or leaves. Each stitch starts and ends at the same central point.
Practice these stitches on scrap fabric before applying them to your jeans.
Embroidering on Jeans: Step-by-Step Process
Now that you’re prepared, let’s dive into the actual embroidery process.
Start Stitching
- Begin with the outline of your design using a backstitch or running stitch. This provides structure and guides the rest of your work.
Fill In Shapes
- Use satin stitches or other fill techniques to complete larger sections of your design. Work slowly and evenly to maintain consistency.
Add Details
- Incorporate smaller stitches like French knots or lazy daisies to enhance texture and depth. These finishing touches bring your design to life.
Switch Colors
- Change thread colors as needed to match your design. Tie off each color securely on the reverse side to avoid unraveling.
Maintain Tension
- Keep the fabric taut in the hoop throughout the process. Adjust the hoop periodically to prevent distortion.
Tips for Success
Here are some additional tips to help you achieve professional-looking results:
- Work Slowly: Take your time, especially when learning new stitches or working on complex designs.
- Secure Threads Properly: Knot threads neatly on the backside to prevent fraying.
- Avoid Overcrowding: Leave space between elements to allow the design to breathe visually.
- Experiment with Textures: Combine different stitches and thread thicknesses for a dynamic effect.
- Protect Your Hands: Use a thimble to push the needle through thick denim without injuring yourself.
Finishing Touches
Once your embroidery is complete, take steps to finalize and preserve your work:
Remove Stabilizer
- If using a water-soluble stabilizer, rinse the jeans gently in lukewarm water until all traces dissolve. For tear-away stabilizers, carefully peel them off.
Press the Fabric
- Iron the jeans on low heat (inside out) to smooth any wrinkles caused by the hoop. Avoid direct contact with the embroidered area to prevent flattening the stitches.
Seal the Edges
- To prevent fraying, apply a small amount of clear nail polish or fray-check solution along the edges of the design.
Wash Carefully
- Hand-wash embroidered jeans or machine-wash them on a gentle cycle with cold water. Air-dry to preserve the integrity of the stitches.
Creative Ideas for Embroidered Jeans
Looking for inspiration? Try one of these ideas:
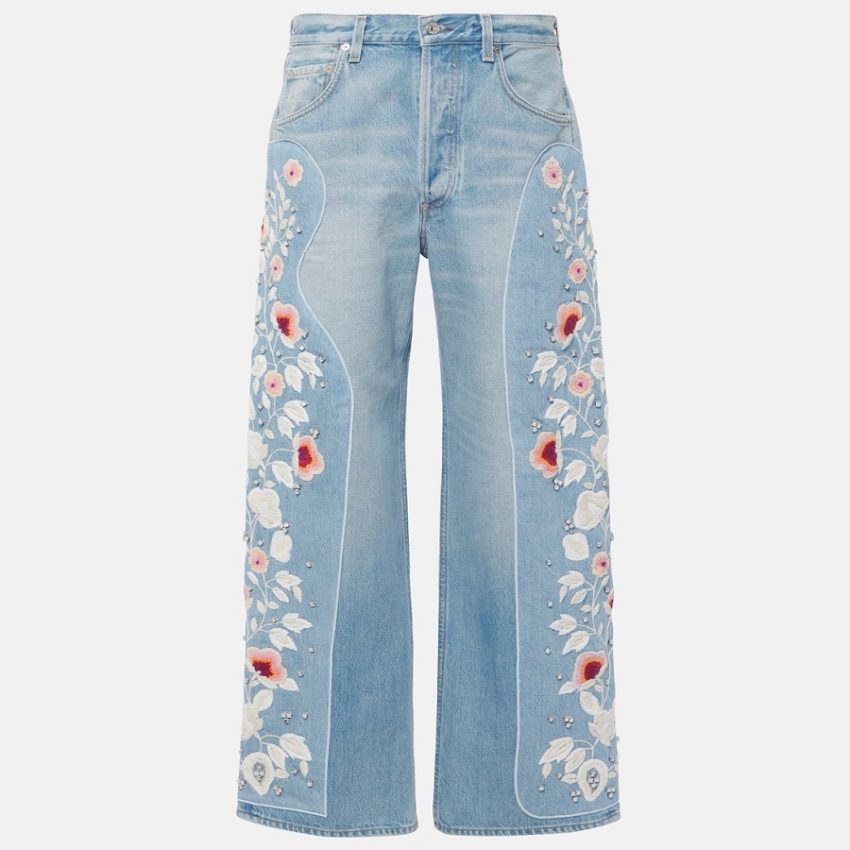
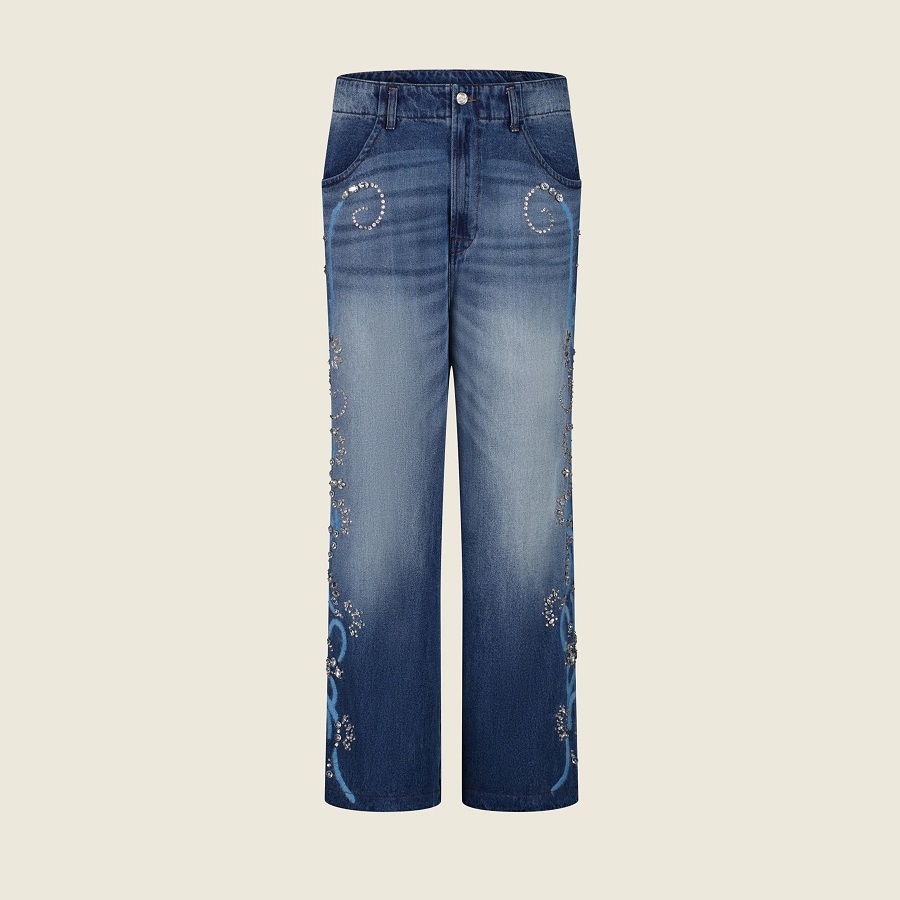
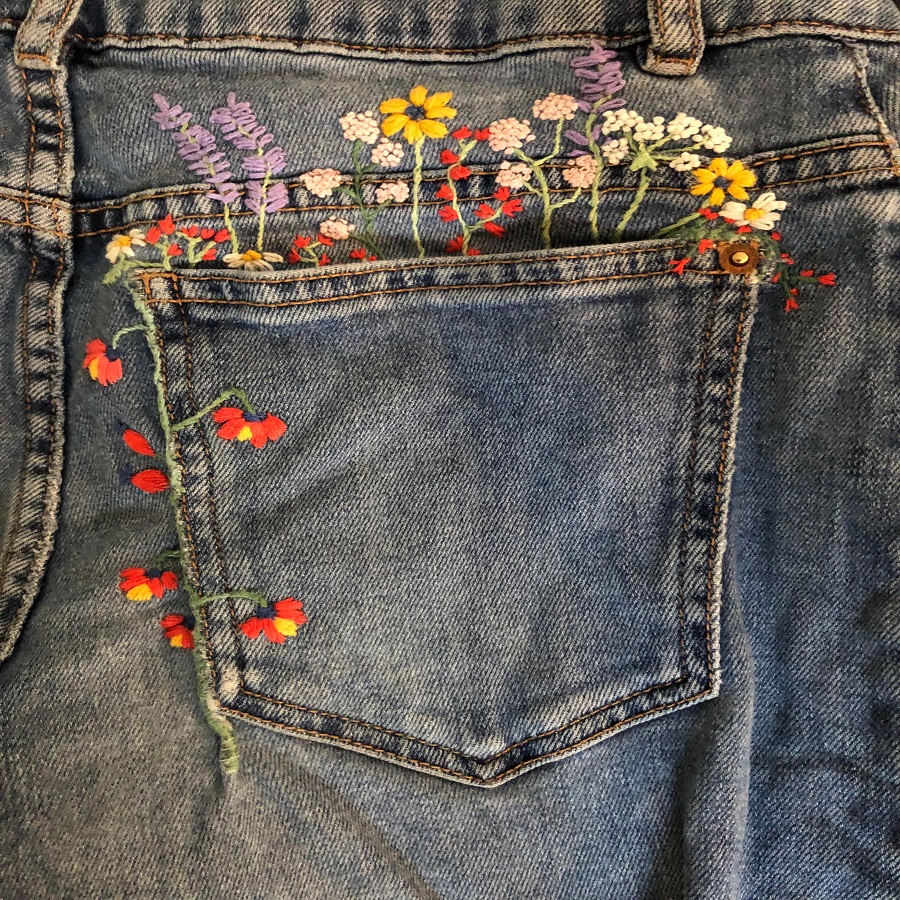
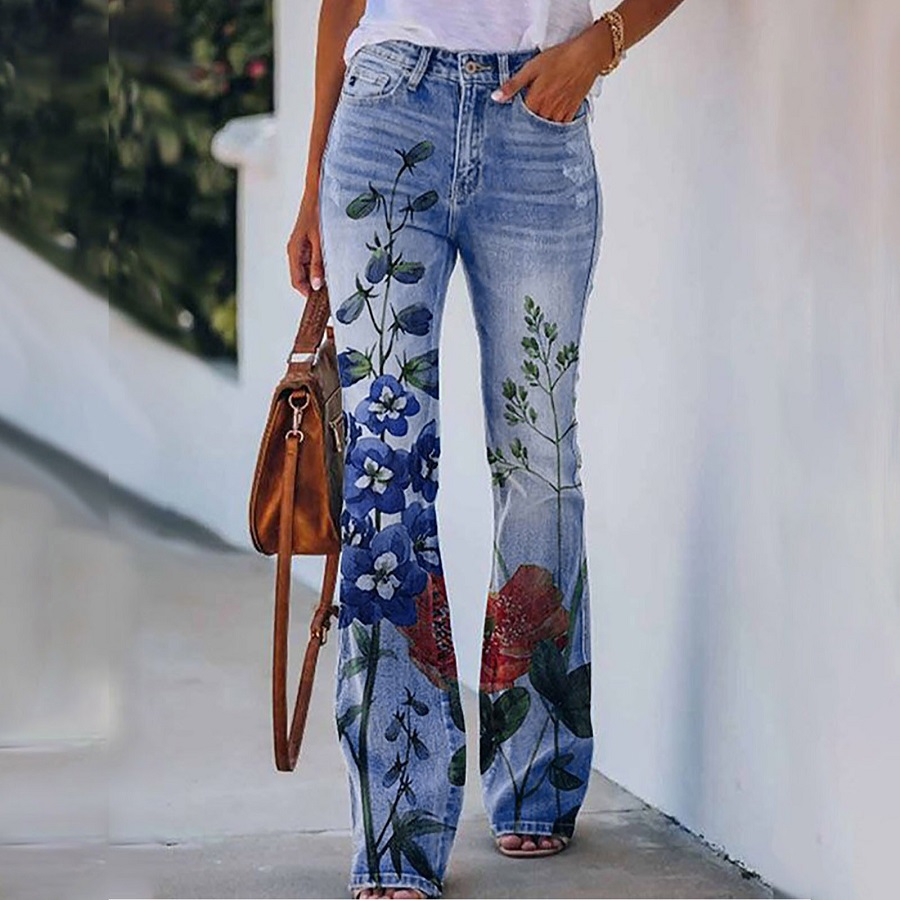
- Floral Patterns: Add delicate flowers along the sides or pockets for a bohemian vibe.
- Geometric Designs: Use bold lines and shapes for a modern aesthetic.
- Personalized Monograms: Embroider initials or names for a custom touch.
- Nature-Inspired Motifs: Incorporate animals, trees, or celestial elements.
- Patchwork Style: Combine patches with embroidery for a mixed-media look.
Troubleshooting Common Issues
Even experienced embroiderers encounter challenges. Here’s how to address common problems:
- Puckering Fabric: Increase the tension in your hoop or use a heavier stabilizer.
- Thread Tangling: Re-thread your needle and ensure the thread isn’t twisted.
- Uneven Stitches: Slow down and focus on maintaining consistent spacing.
- Design Misalignment: Double-check your transfer method and adjust as needed.
Conclusion: Elevate Your Style with Embroidered Jeans
Embroidering jeans is a rewarding project that combines creativity, craftsmanship, and personal expression. With the right tools, techniques, and patience, you can transform a simple pair of jeans into a stunning, one-of-a-kind garment. Whether you’re aiming for subtle embellishments or bold statements, the possibilities are endless. So grab your supplies, unleash your imagination, and start stitching—your dream jeans await!