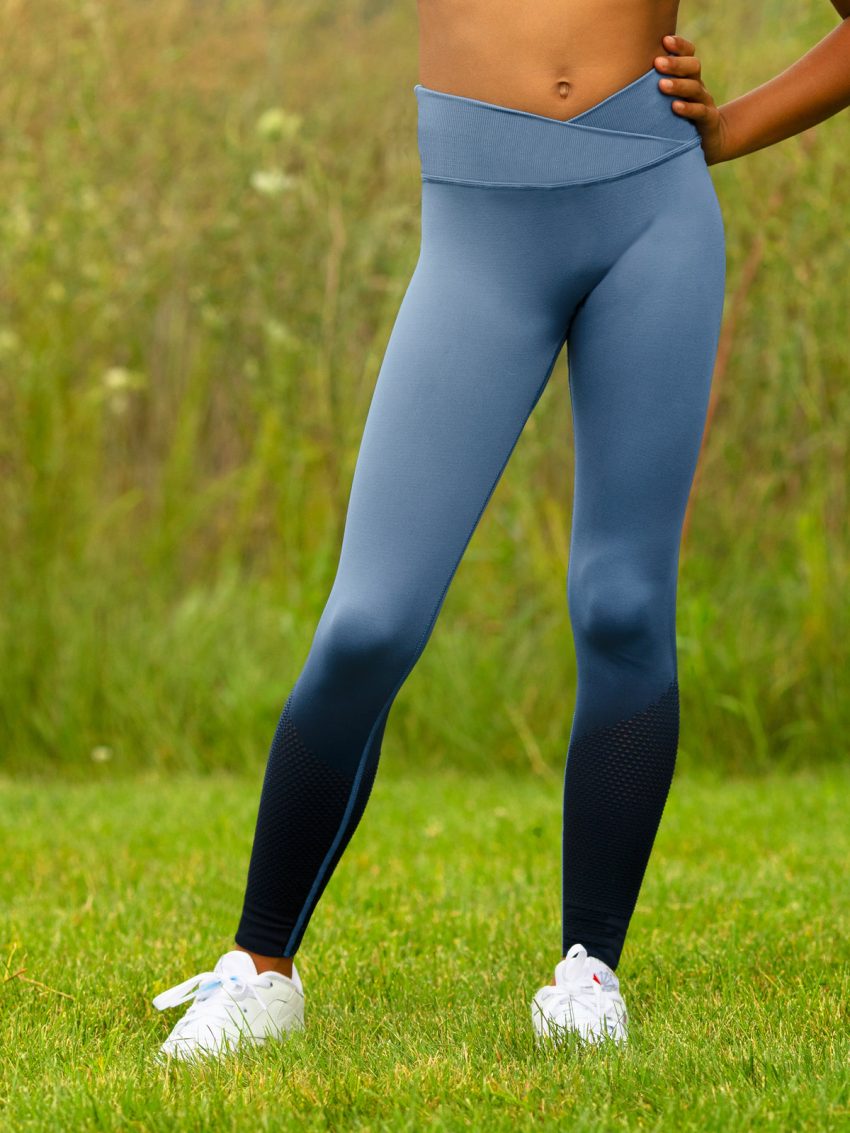
How to hem leggings? Leggings are a versatile and comfortable wardrobe staple, but sometimes they just don’t fit perfectly right off the rack. Whether they’re too long or you want to adjust them for a custom look, hemming leggings is a practical skill that can save you time and money. This comprehensive guide will walk you through the process of hemming leggings, from gathering your materials to finishing the hem. With a little patience and practice, you’ll be able to tailor your leggings for a perfect fit.
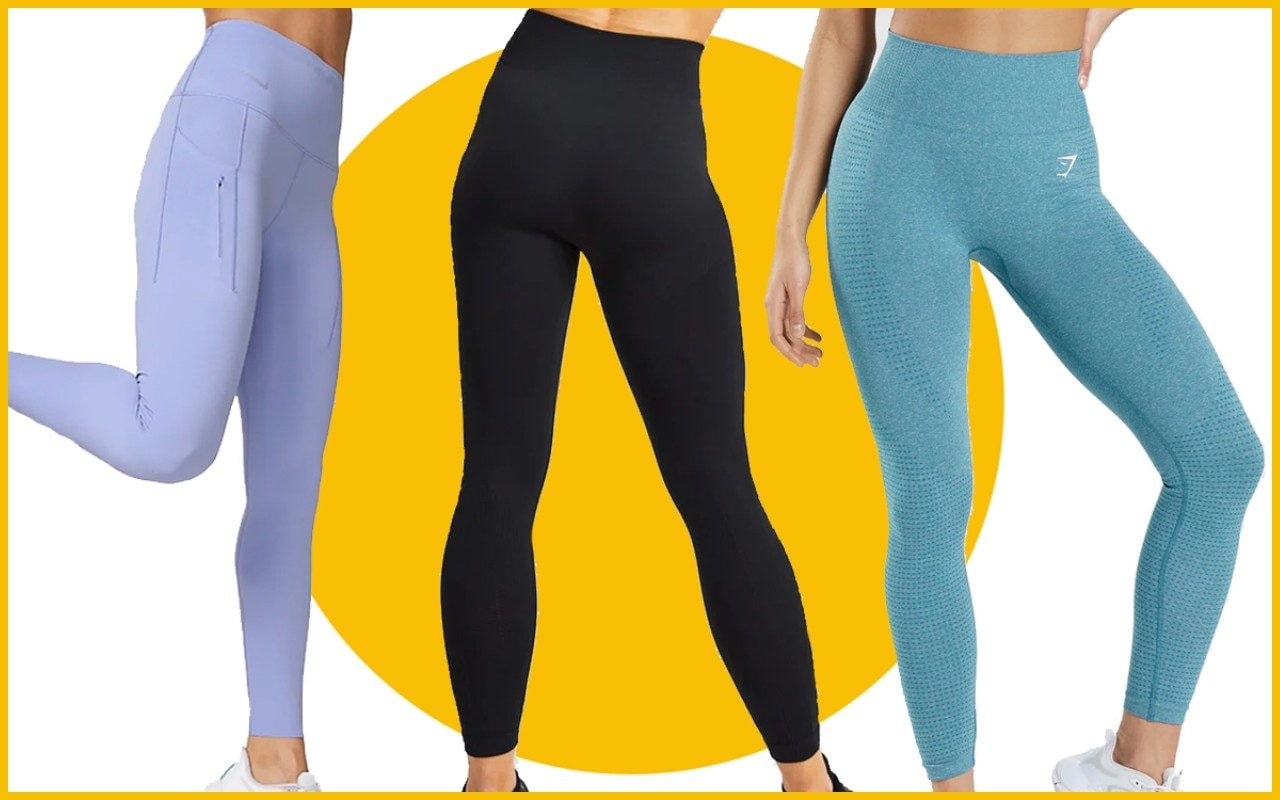
Step-by-Step Guide
1. Try On the Leggings and Measure
To determine the correct length for your leggings:
- Put on the leggings: Wear the shoes you plan to pair with your leggings to get an accurate measurement.
- Mark the desired length: Use fabric chalk or a fabric marking pen to mark where you want the new hem to fall. Typically, leggings should end at the ankle or just above it.
- Add seam allowance: Once you’ve marked the desired length, add about ½ inch (1.27 cm) or more for the seam allowance. This extra fabric will be folded under to create the hem.
2. Remove the Leggings and Prepare
- Lay the leggings flat: Make sure they are smooth and without wrinkles.
- Measure and mark: Use a measuring tape to measure from the original hem to the mark you made, ensuring it’s even all around. Use fabric chalk or a fabric marking pen to draw a straight line around each leg where you’ll cut.
- Cut the excess fabric: Carefully cut along the marked line with sharp scissors.
3. Fold and Pin the Hem
- Fold the fabric: Fold the raw edge of the fabric up to the inside of the leggings to the marked seam allowance line (½ inch or the amount you decided).
- Secure with pins or clips: Use pins or fabric clips to hold the fold in place. Make sure the fold is even all around the leg opening.
4. Prepare Your Sewing Machine
- Select the appropriate needle: Use a ballpoint needle in your sewing machine. Ballpoint needles are designed for knit fabrics and help prevent snagging or damaging the material.
- Choose your thread: Regular polyester thread works well, but if you have access to stretch thread, it’s even better as it will allow the hem to stretch with the workout leggings.
- Set the stitch type: Select a stretch stitch or a narrow zigzag stitch on your sewing machine. These stitches will allow the hem to stretch without breaking the thread.
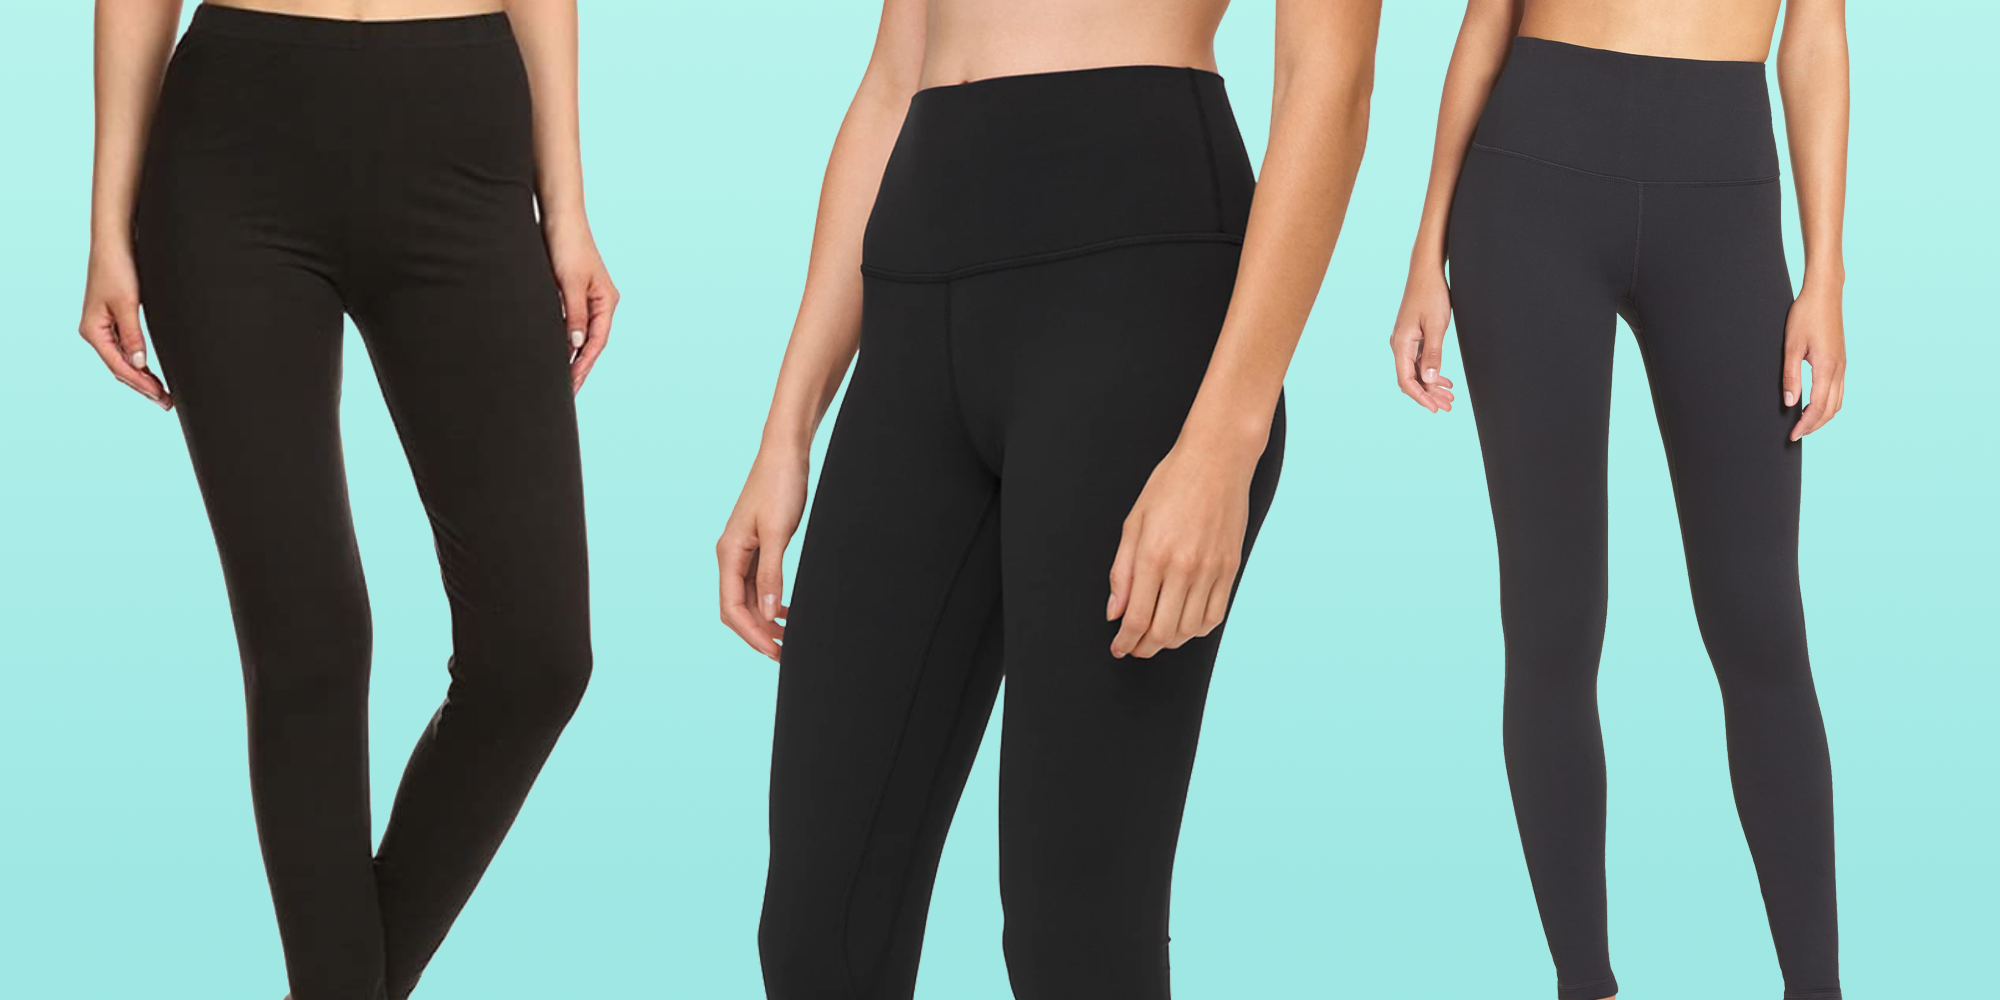
5. Sew the Hem
- Position the fabric: Place the folded edge under the presser foot of your sewing machine. Start at an inner seam to make the finishing less noticeable.
- Sew slowly and steadily: Sew along the folded edge using a stretch or zigzag stitch. Keep the fabric taut but don’t stretch it under the presser foot. Sewing slowly helps to maintain control and prevent the fabric from bunching.
- Finish the hem: When you reach the starting point, overlap the stitching slightly to secure it. Trim any loose threads.
6. Press the Hem
- Iron the hem: Turn the leggings right side out and gently press the hem with an iron set to the appropriate temperature for your fabric. Avoid pressing too hard or stretching the fabric while ironing.
- Use a pressing cloth: If your leggings are made of delicate or synthetic material, use a pressing cloth between the iron and the fabric to prevent scorching or melting.
Optional Step: Hand Sewing
If you prefer or need to hand sew the hem, follow these additional steps:
- Choose a stretch stitch: Use a stretch stitch such as a herringbone stitch for hand sewing. This will allow the hem to stretch with the best leggings.
- Thread your needle: Use a double strand of thread for added strength and knot the end.
- Sew the hem: Secure the hem by stitching along the folded edge, making sure to keep your stitches small and even. Knot the thread securely when finished.
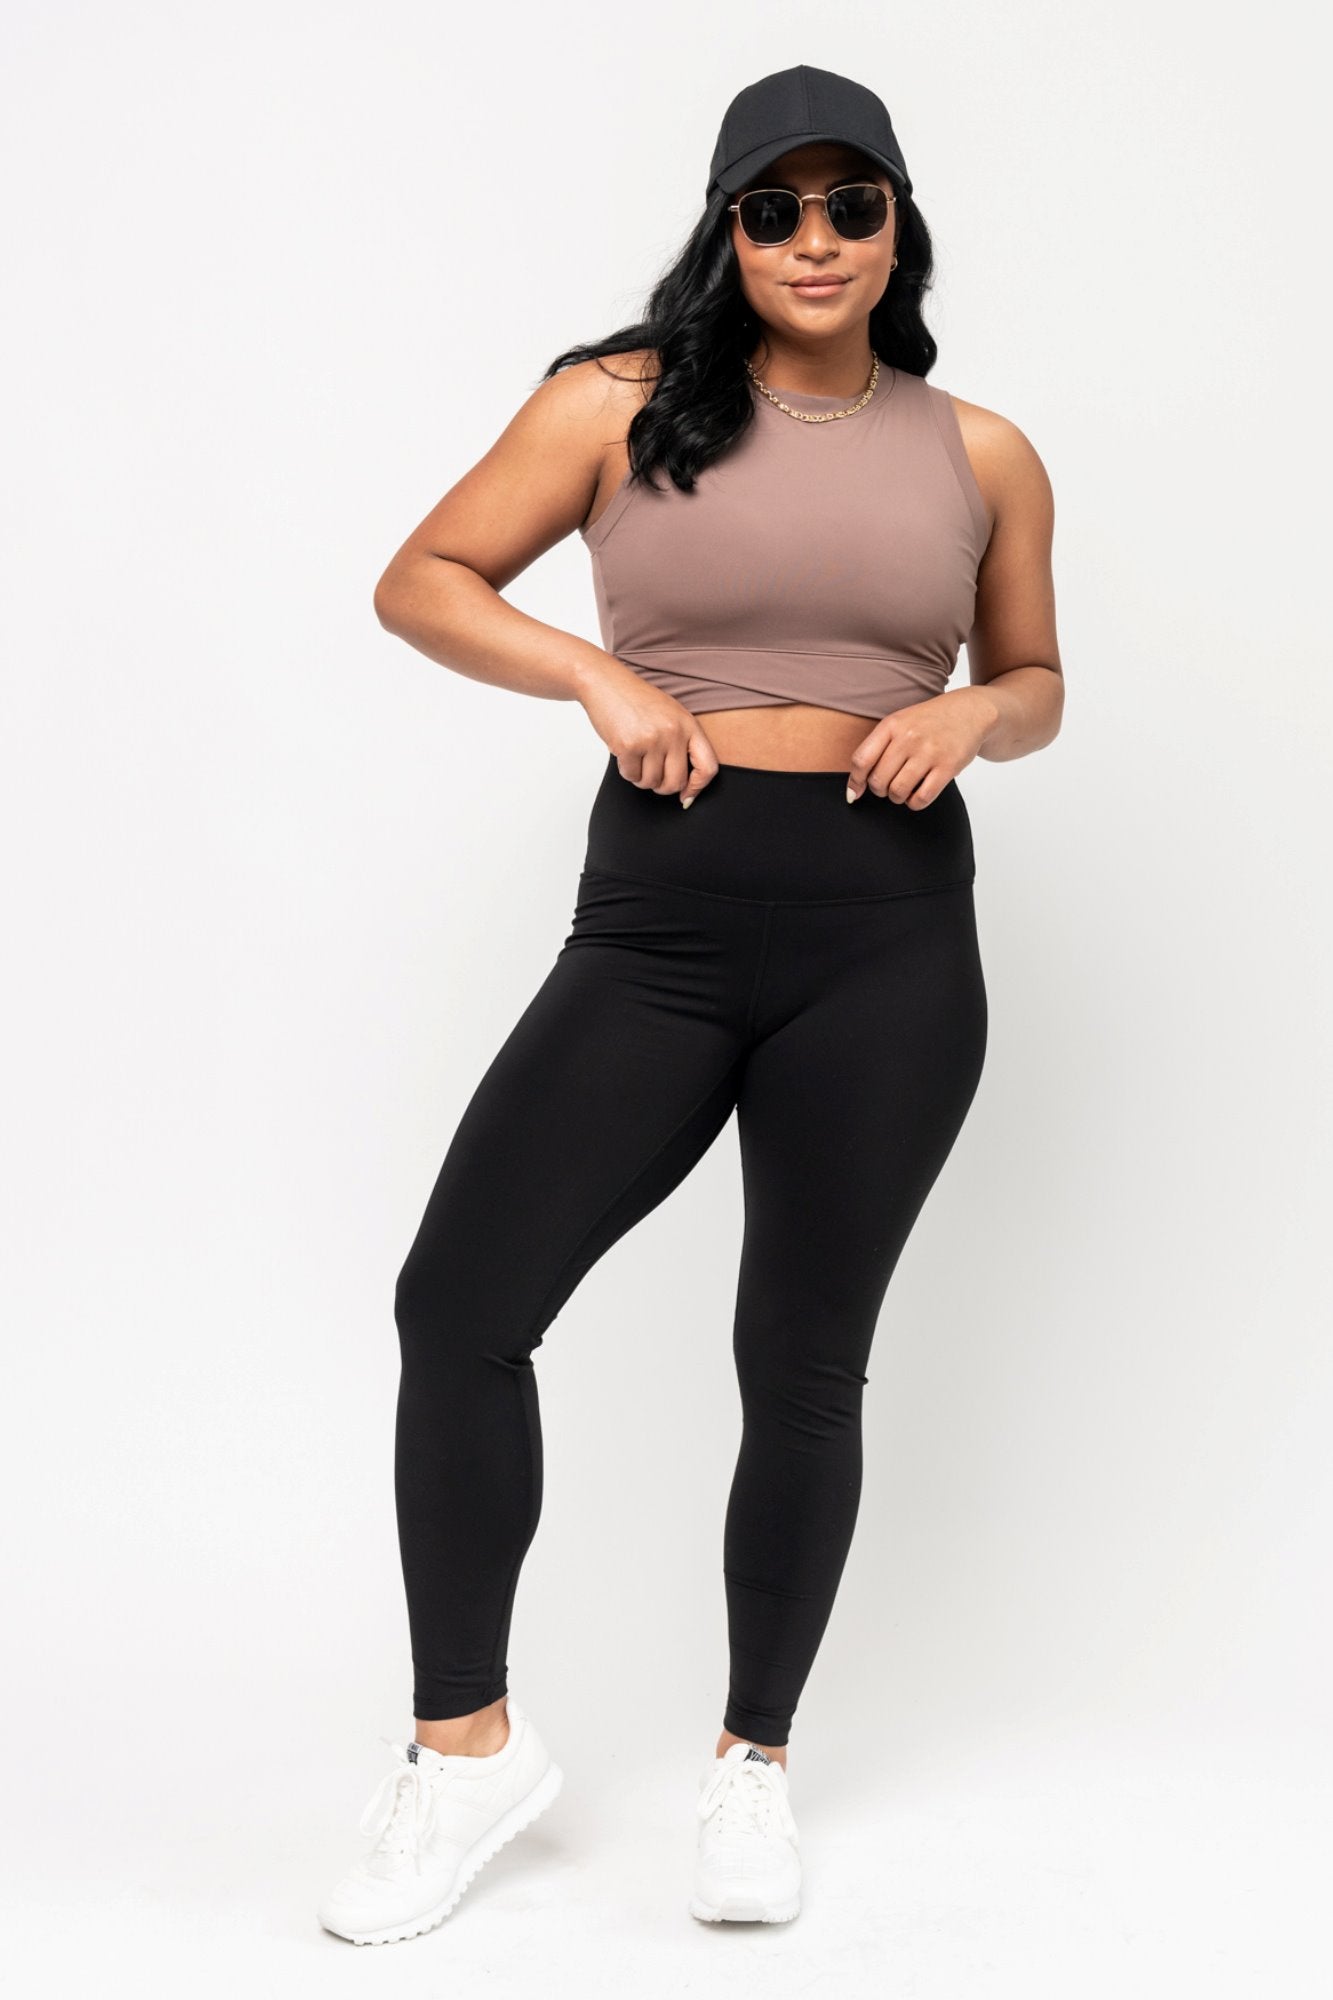
How to choose the right size for leggings
Leggings have become a staple in many wardrobes due to their comfort, versatility, and ability to be dressed up or down for any occasion. However, finding the right size leggings can sometimes be a challenge, as they come in various styles, materials, and fits. Selecting the perfect pair of leggings is essential for both comfort and style, and it requires considering factors such as size, fabric, and intended use.
Measuring Yourself for Leggings
Before you start shopping for leggings, it’s crucial to take accurate measurements to ensure a proper fit. Here’s how to measure yourself for designer leggings:
- Waist: Measure around the narrowest part of your waist, typically an inch above your belly button.
- Hips: Measure around the fullest part of your hips and buttocks.
- Inseam: Measure from the top of your inner thigh to the bottom of your ankle or desired legging length.
- Thigh circumference: Measure around the fullest part of your thigh.
Understanding Different Fits
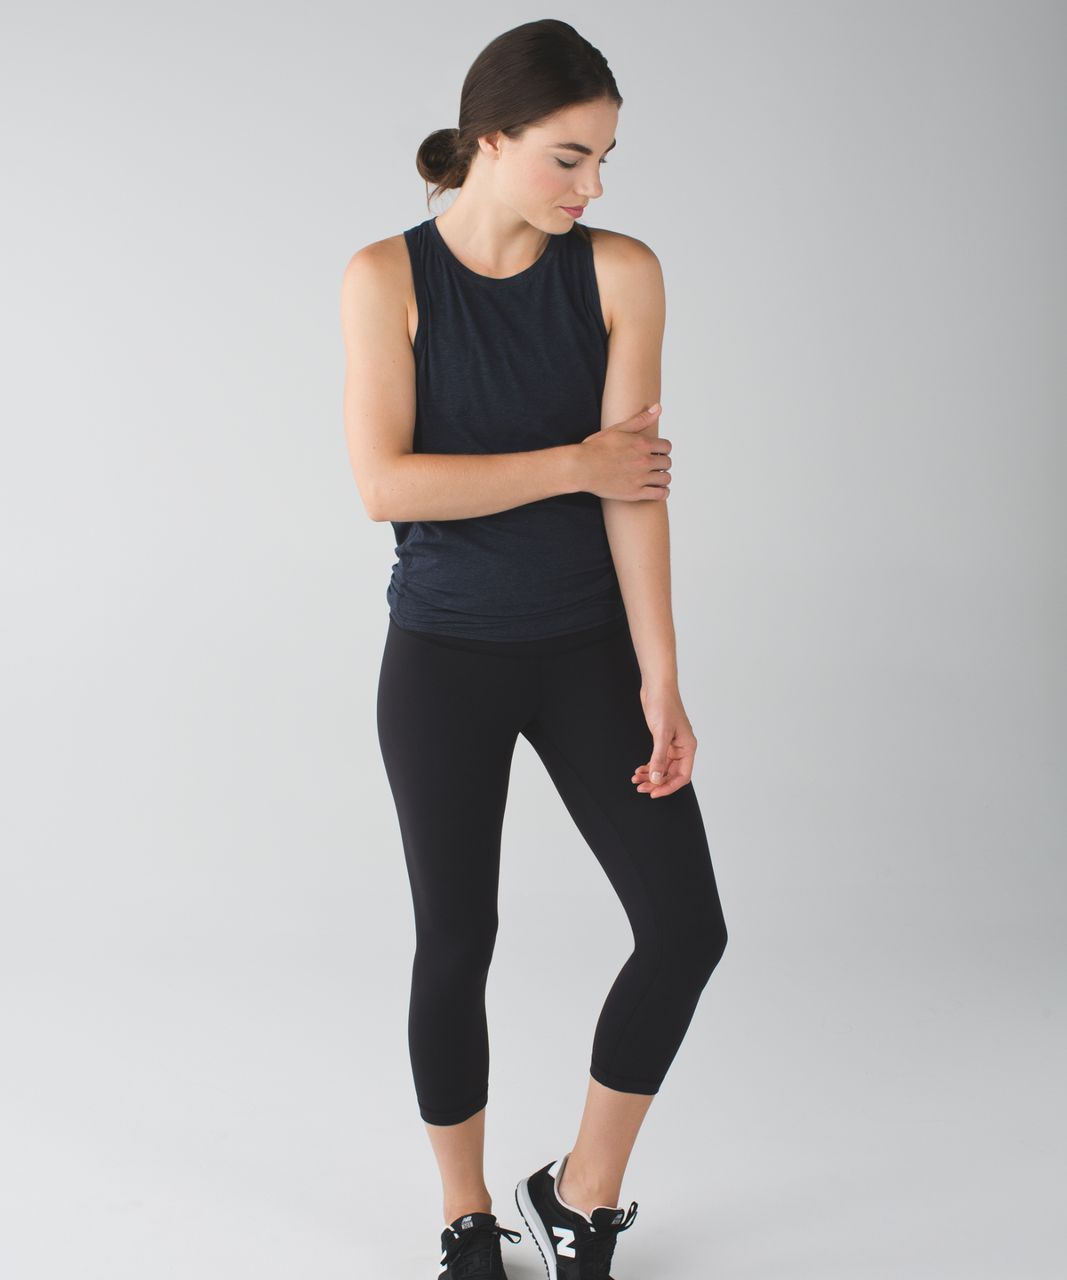
Leggings come in various fits to accommodate different preferences and body types. Understanding these fits will help you choose the most suitable option:
- Compression fit: These leggings provide a snug, body-hugging fit and are designed to compress and support muscles during physical activities.
- Slim fit: Slim-fit leggings offer a close but not overly tight fit, providing a sleek silhouette without excessive compression.
- Relaxed fit: This fit offers a looser, more casual feel, providing comfort for everyday wear.
- High-waisted vs. low-waisted: Consider whether you prefer leggings that sit at your natural waist or lower on the hips, as this can affect both comfort and style.
Selecting the Right Fabric
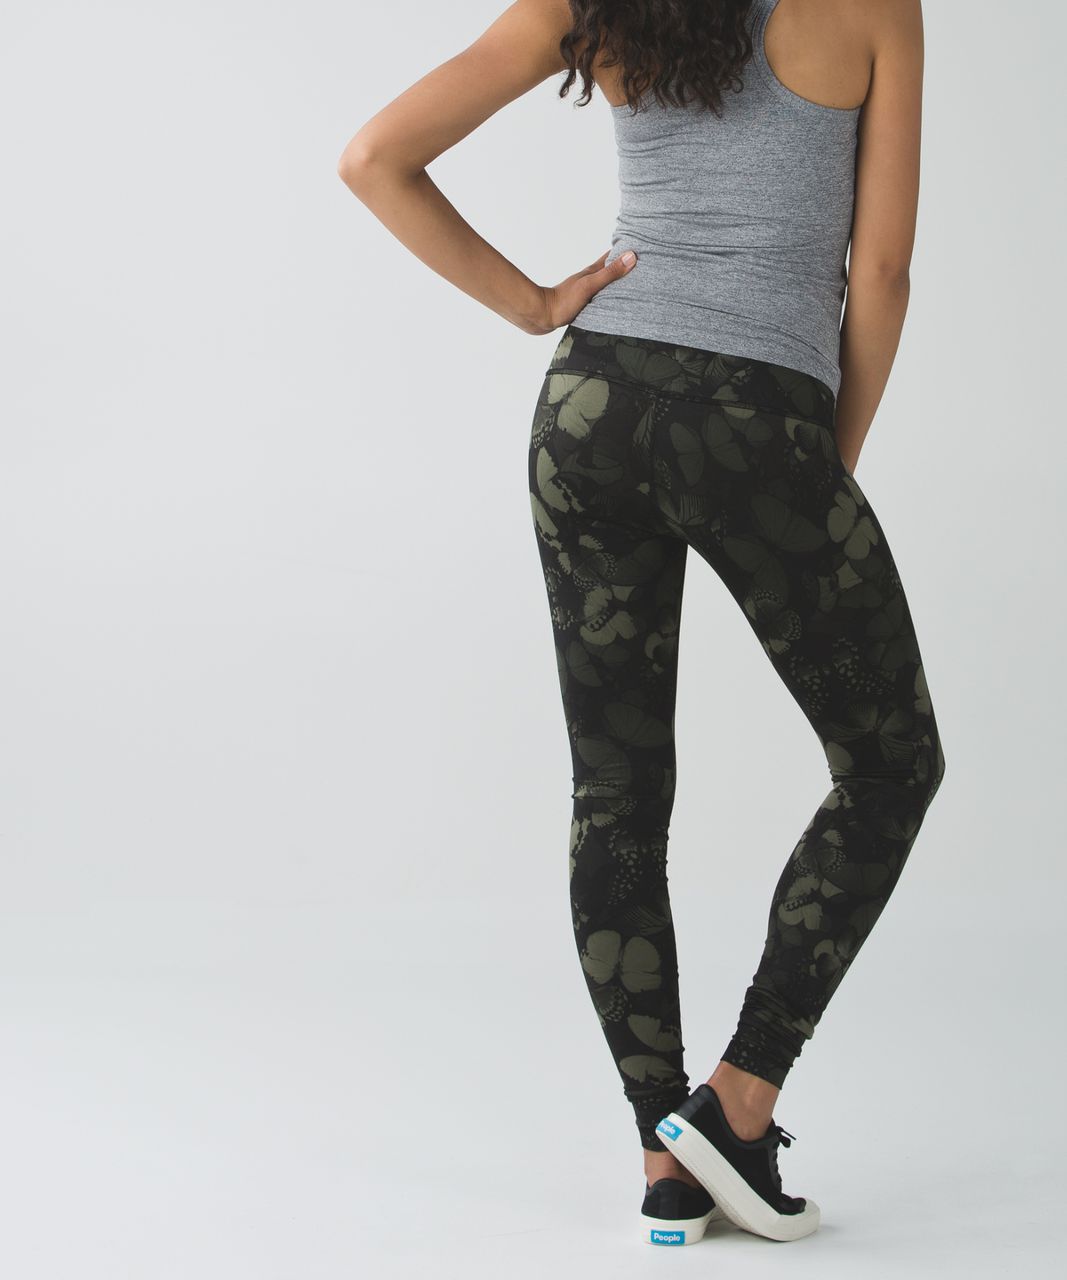
The fabric of your leggings plays a significant role in how they fit and feel. Common fabrics used for leggings include:
- Cotton: Soft and breathable, cotton leggings are comfortable for everyday wear but may lack the stretch needed for intense physical activities.
- Polyester/Spandex blend: This blend offers excellent stretch and moisture-wicking properties, making it suitable for workouts and active wear.
- Nylon: Nylon leggings are durable, moisture-wicking, and quick-drying, making them ideal for high-impact activities.
- Fleece-lined: Fleece-lined leggings provide extra warmth and are perfect for cold weather.
Conclusion
Hemming leggings can seem daunting at first, but with the right tools and a bit of patience, it’s a manageable and rewarding task. Whether using a sewing machine or hand stitching, the key is to ensure the hem retains its stretch and looks neat. By following this step-by-step guide, you can achieve a professional-looking hem that keeps your leggings fitting perfectly and looking great. So next time you find a pair of leggings that are just a bit too long, you’ll know exactly how to adjust them to suit your style and comfort needs. Happy sewing!
