The History of Needlepoint Stockings
The history of needlepoint stocking is rich and varied. These decorative pieces trace back centuries. They began as a practical item, evolving into a cherished holiday tradition. In the 16th century, people used needlepoint to mend clothing. Crafters soon saw the artistic potential in this technique.
Types of Needlepoint Stocking Designs
When it comes to needlepoint stocking designs, the options are diverse and cater to every style. Needlepoint allows for intricate patterns and personalized themes, turning each stocking into a work of art. Here are some notable types you might consider for your holiday decor:
- Classic Floral and Nature Patterns: These designs often feature flowers, leaves, or winter scenes. They are timeless and often chosen for their elegant and traditional feel.
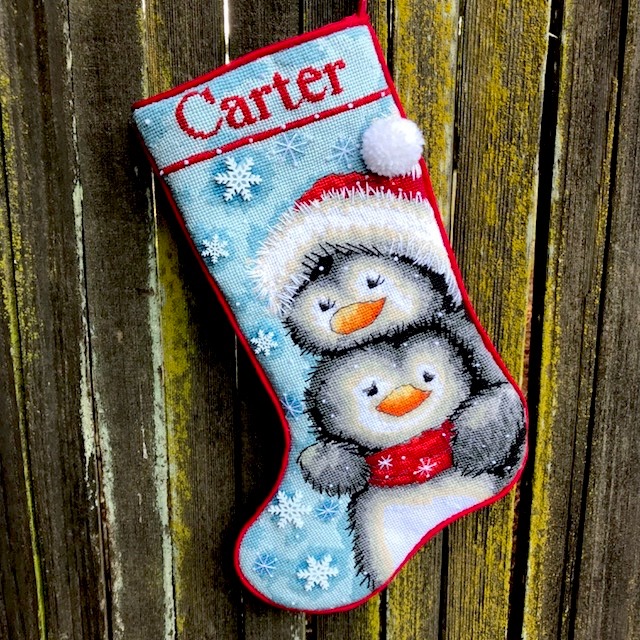
- Character and Cartoon Motifs: Ideal for children or the young at heart, these stockings can showcase favorite characters from movies, television, or books.
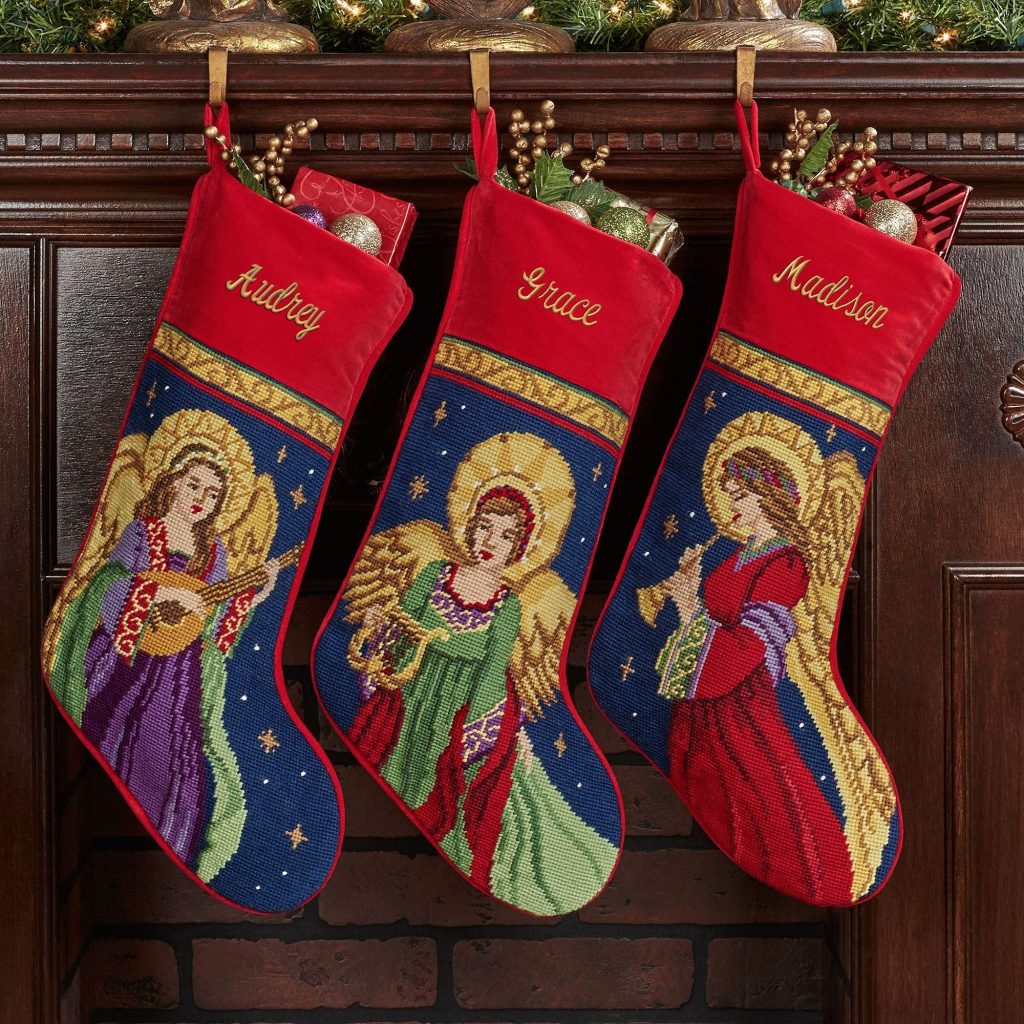
- Religious and Inspirational Imagery: For many, stockings with angels, nativity scenes, or inspirational quotes reflect the spiritual significance of the season.
- Geometric and Abstract Designs: Modern and chic, these patterns use shapes and lines for a contemporary look.
Each needlepoint stocking design can tell a unique story and add a distinctive flair to your holiday decor. By selecting a design that resonates with you or your family, you create a personalized decoration that’s both beautiful and meaningful.
Essential Materials for Creating Needlepoint Stockings
To start your needlepoint stocking, gather the right materials. These are key for a stunning and durable piece.
- Canvas: Choose a sturdy mono or interlock type canvas. This is your project’s base.
- Yarn or Thread: Pick wool, silk, or cotton fibers. They come in many colors.
- Needles: Use tapestry needles. They have blunt ends perfect for canvas work.
- Scissors: A sharp pair cuts threads cleanly. This makes your work look neat.
- Patterns or Charts: These guide your stitching. You can find many designs online.
- Hoops or Frames: They keep the canvas taut. This helps with even stitching.
- Thimbles: Optional for comfort. They protect fingers during hours of stitching.
Gathering these materials ensures a smooth start to your needlepoint project. They help achieve precise designs. Remember, quality materials lead to a beautiful, lasting needlepoint stocking. Your choice of materials adds to the stocking’s personalized touch.
Step-by-Step Guide to Making Your Needlepoint Stocking
Crafting a needlepoint stocking is an enjoyable project that requires patience and attention to detail. Here is a simple step-by-step guide to help you create your own personalized decor:
- Choose Your Design: Start by selecting a pattern or design that speaks to you. Consider the themes mentioned before, from classic to modern.
- Prepare Your Canvas: Cut your canvas to size, allowing extra space for finishing edges. Secure it on your hoop or frame.
- Select Your Threads: Pick colors that complement your design. Bright, contrasting shades often make the design pop.
- Thread Your Needle: Use a tapestry needle and begin threading it with your chosen yarn or thread.
- Start Stitching: Follow your pattern or chart closely. Begin from the center and move outward for consistency.
Remember to pace yourself and enjoy the process. With each stitch, you are creating a personalized needlepoint stocking that can be cherished for years. Ensure your needlepoint stocking keywords are met throughout the guide for optimal SEO performance.
Popular Themes for Personalized Stockings
Choosing the right theme for your personalized needlepoint stocking can make it truly stand out. Reflect on the recipient’s personality, interests, or favorite holiday aspects. Here are some popular themes that might inspire your next needlepoint project.
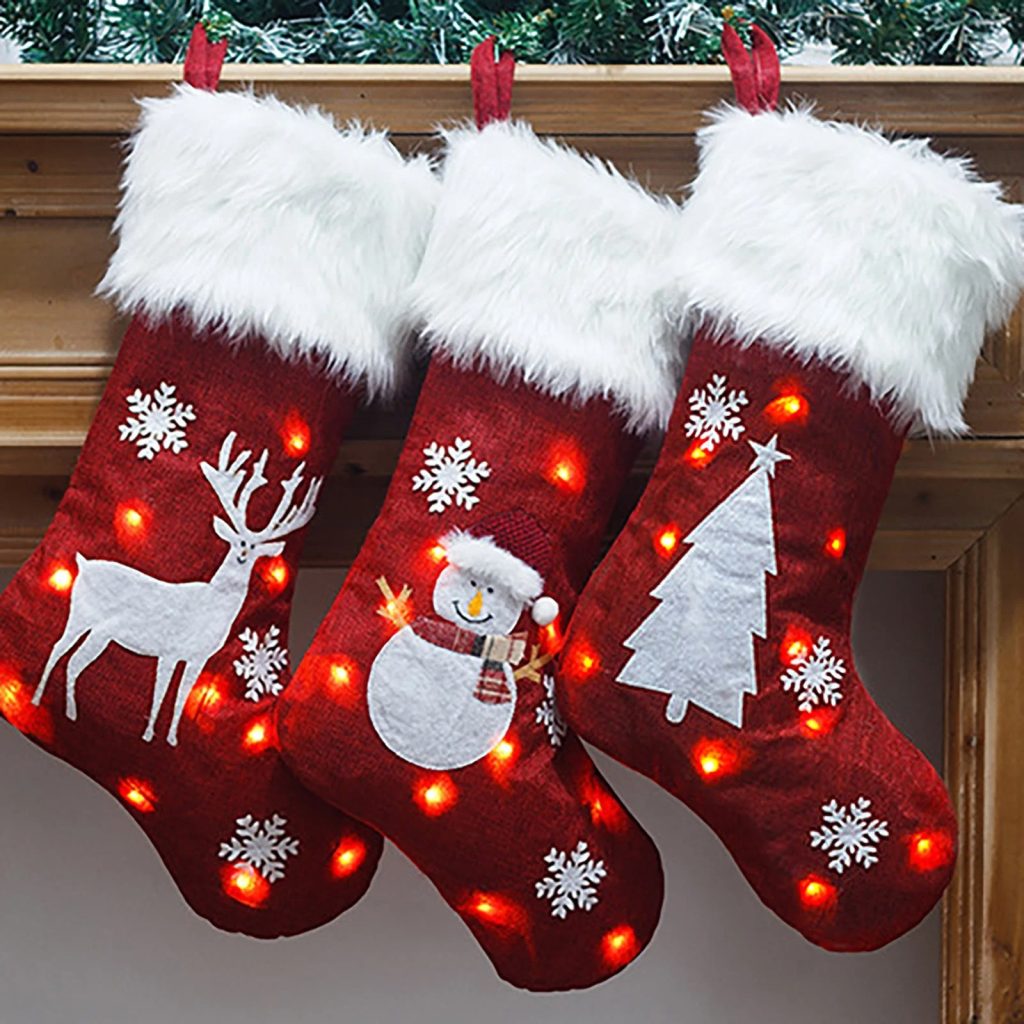
- Whimsical Winter Scenes: Depict snowflakes, sleighs, or cozy cottages for a classic holiday vibe.
- Festive Characters: Add Santa, elves, or reindeer for a playful touch that delights all ages.
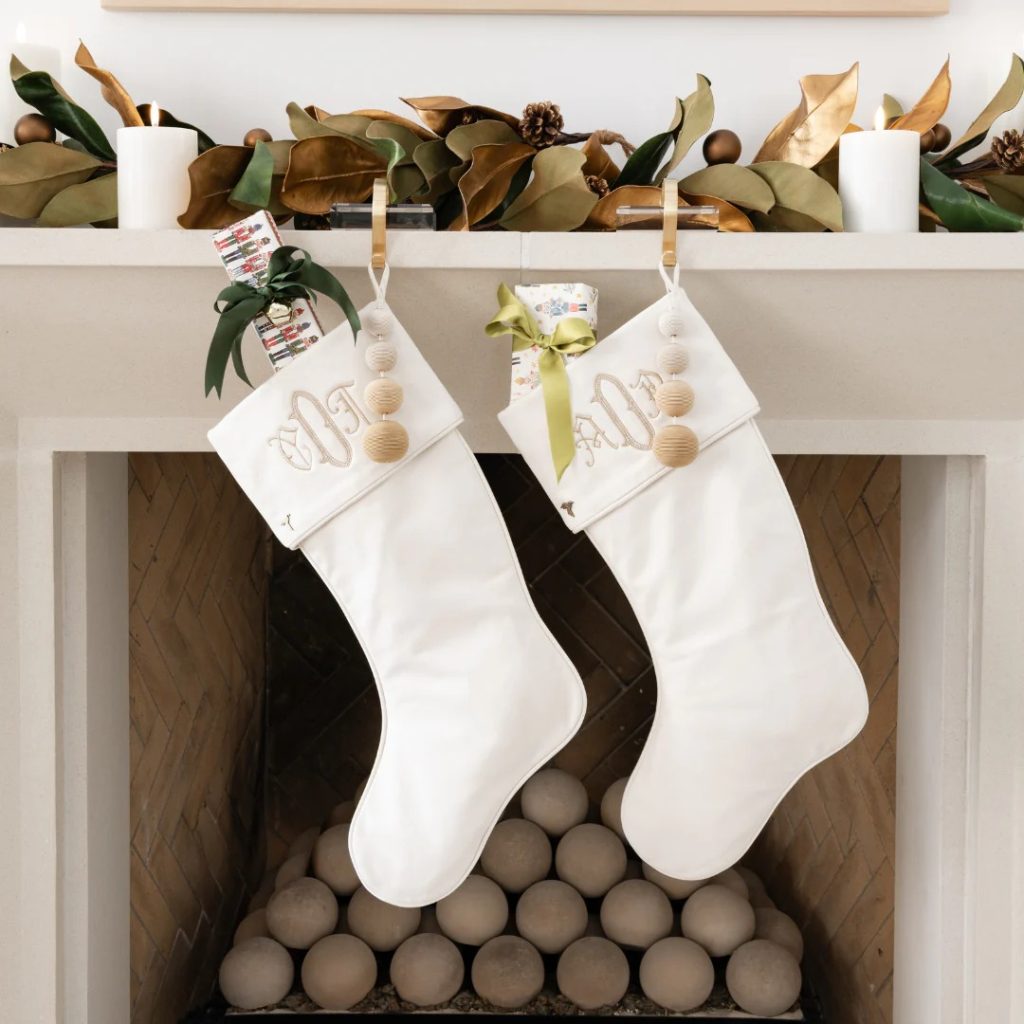
- Elegant Monograms: Use stylish lettering to add a sophisticated and personal element.
- Charming Animals: Feature beloved pets or woodland creatures for nature lovers.
- Sports Icons: Capture a favorite sport or team for the fanatic in your family.
- Cultural Symbols: Recognize heritage with traditional motifs from around the world.
- Nostalgia and Memories: Incorporate images from family traditions or past holidays.
When you pick a theme that holds special meaning, your needlepoint stocking becomes more than a decoration. It tells a story and builds on the joyful atmosphere of the season. Start with these ideas and mold them to suit the individual charm of the stocking’s future owner.
Tips for Choosing Colors and Patterns
Choosing the right colors and patterns is crucial for an attractive needlepoint stocking. Here are some tips to help you select the perfect combination:
- Consider the Room Decor: Pick colors that match or complement the room where the stocking will hang. This creates a cohesive look.
- Think Seasonal: Use traditional holiday colors like red, green, gold, or silver. These shades bring out the festive spirit.
- Go for Contrast: Choose patterns with high contrast in colors. It makes the design stand out more.
- Stay Timeless: Select patterns that are classic. Avoid designs that might feel dated in a few years.
- Personal Preferences: Reflect the recipient’s favorite colors or patterns. It adds a personal touch.
Remember, the colors and patterns you choose set the mood for your needlepoint stocking. They should tell a story and evoke the right emotions. As an expert in this craft, it’s essential to balance traditional elements with personal touches for a one-of-a-kind creation. Keep the keyword needlepoint stocking active in your guide for better.
Incorporating Monograms and Names for a Personal Touch
Adding monograms and names can transform a needlepoint stocking from a simple decoration to a cherished keepsake. Personalization infuses warmth and thoughtfulness, making the stocking unique. Here are tips to incorporate monograms and names elegantly and effectively:
- Select a Font Style: Choose a font that matches the stocking’s design. A classic script looks timeless, while a modern typeface is sleek.
- Decide on the Placement: Typically, names go at the top cuff. But you can get creative, placing them on the toe or across the design.
- Pick a Thread Color: Use a color that pops against the background. This ensures the name stands out well.
- Consider the Size: Ensure the letters fit the space neatly. Too big, and they overpower; too small, and they get lost.
- Use Stencils or Patterns: These aid with even lettering. They guide your stitches for professional results.
Personalizing a needlepoint stocking makes it more than decor; it’s a gift from the heart. Every time it hangs, it will remind loved ones that they are special. Remember, keep the needlepoint stocking keyword in mind for SEO as you craft your heartfelt message.
Maintaining and Preserving Needlepoint Stockings Over Time
Taking care of needlepoint stockings ensures they last for many holidays. Here are easy steps to maintain their charm:
- Handle Gently: Always pick up stockings with clean hands. Avoid pulling on threads.
- Clean Carefully: Spot clean with a damp cloth. Do not rub harshly, and dry flat.
- Avoid Sunlight: Store away from direct sunlight. It can fade colors over time.
- Keep Dry: Moisture can damage fibers. Store in a dry place.
- Use Acid-Free Paper: Wrap stockings in acid-free paper when storing. It protects against discoloration.
By following these tips, your needlepoint stockings will stay beautiful. They can become timeless treasures in your seasonal decor. Use needlepoint stocking keywords the right amount to engage readers and boost.