
Preparing Your Jeans for Alteration
How to make the waist of jeans smaller? Before you begin making the waist of your jeans smaller, the right preparations are crucial for a successful alteration. This step ensures you start on the right path and avoid any mishaps during the process.

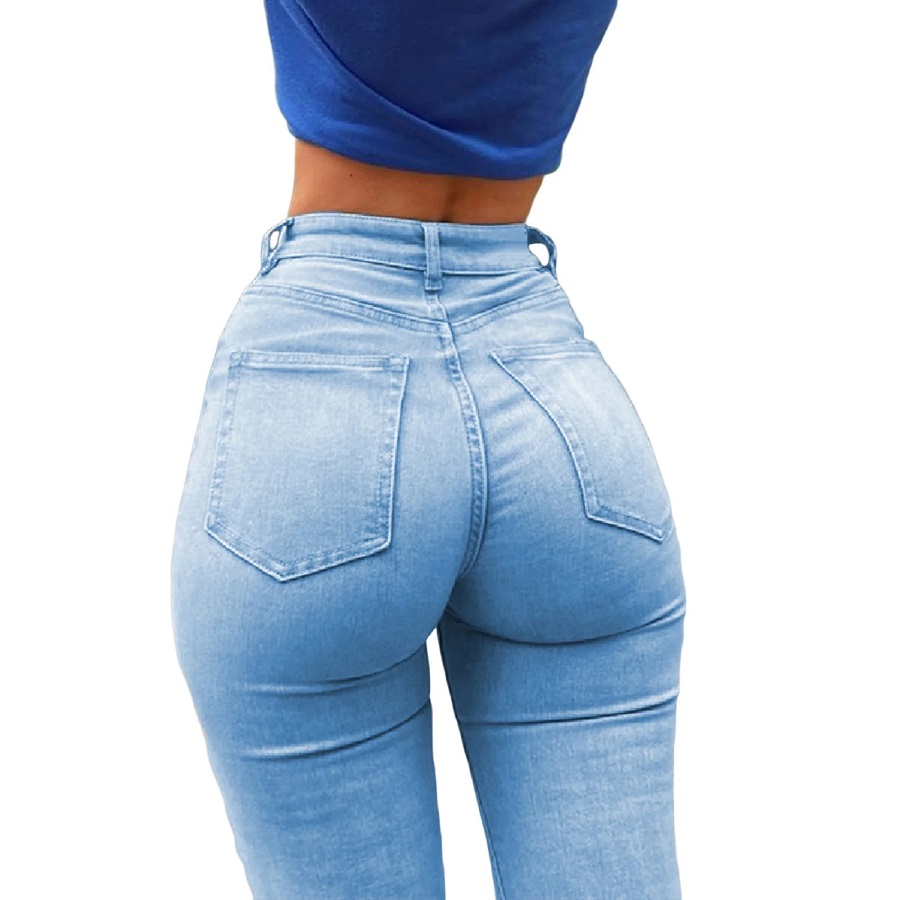
Finding the Right Fit
Select jeans that provide a comfortable fit around your thighs and hips but are loose around the waist. This discrepancy in fit around the waist is what you’ll be adjusting. Trying on your jeans and assessing where it feels loose is a vital first step. This way, you guarantee that the jeans are worth altering instead of just being a poor overall fit.
Gathering Necessary Supplies
For the alteration process, you need some specific supplies:
- A seam ripper for undoing the waistband and side seams.
- Measuring tape to measure the excess fabric.
- Fabric chalk or pens for marking adjustments.
- Pins or clips to hold fabric in place.
- A pair of scissors for cutting fabric.
- A sewing machine set up with a denim needle, suitable for handling heavy denim fabric.
Gather these tools before you start, to streamline your alteration process, making it more efficient and less prone to errors.
Measuring and Pinning for a Snug Waist
Achieving the perfect waist fit begins with careful measuring and precise pinning. Here’s how to start.
Marking the Excess Fabric
First, wear your jeans and identify the loose areas at the waist. Pinch and pin the excess fabric, making sure to capture only what’s necessary. Use fabric chalk or a pen to draw a line where you will later cut. Check that the pins are secure and the line is clear.
Ensuring Symmetrical Adjustments
After marking, ensure the adjustments are even on both sides. Measure the distance between the pins and the back center seam to maintain symmetry. Adjust the pins if needed to guarantee a balanced fit after alteration. It’s crucial that both sides match to prevent a lopsided waistband. This attention to detail will result in a comfortably fitting waist in your jeans.

Opening and Trimming the Waistband
Unpicking the Waistband and Side Seams
Once you’ve marked the excess fabric, it’s time to open up the waistband. Begin by using a seam ripper to carefully remove the stitching from the waistband and side seams. Start from the top of the waist and work downward, ensuring not to damage the fabric. It’s essential to unpick only as much as needed, to maintain the structure of the jeans.
Cutting and Removing Extra Fabric
After you have opened the seams, turn your jeans inside out. This will allow you to see the marked lines clearly. Now, follow these lines to cut the extra fabric away. It’s crucial to cut slowly and accurately to avoid errors. Once trimmed, you should have reduced the waist to your desired fit. Be cautious around any metal components, such as rivets or buttons, as they can complicate the cutting process.
Sewing and Securing Your Adjustments
After removing the excess fabric, we’re ready to sew and secure the changes for that perfect waist fit.
Overlocking and Stitching the New Seams
Begin by overlocking or zigzagging the raw edges. This step prevents fraying and strengthens the seams. Thread your machine with a strong denim thread. Now, align the newly trimmed edges and pin them in place. Double-check for alignment to ensure a smooth seam. Sew along the pin line, using a straight stitch. Don’t rush; take your time for a sturdy seam.
Attaching the Waistband Back in Place
Now focus on the waistband. Start by unfolding it and aligning the edges. Pin them together, ensuring the top edges match perfectly. Sew along the marked line where the waistband needs tightening. Be patient, as sewing through multiple layers can be tough. If your machine has trouble, hand turning the wheel may help. Remember, it’s okay to go slow for accuracy. Once done, refold the waistband and iron it flat. Now you’re ready to reattach it to the jeans.
Fitting and Reevaluating the Changes
After sewing and securing your waist alterations, the next step is crucial for ensuring a perfect fit.
Trying On the Adjusted Jeans
Once you have reattached the waistband, it’s time to try on your jeans again. Wear them to assess the new fit around the waist. Move around and sit down to check for comfort and that the fit is snug but not too tight. This test helps verify that the jeans fit well in real-life scenarios, not just when standing still.
Making Minor Corrections if Needed
If the fit isn’t quite right, don’t worry—small adjustments are often necessary. If you find the waist is still a bit loose, you might need to remove a little more fabric. On the other hand, if it’s too tight, you may need to let out some of the fabric you initially cut. Make these minor corrections carefully, repeating the measuring, cutting, and sewing steps until you achieve the perfect custom fit. This iterative process is essential for tailoring jeans that are both comfortable and flattering.
Finalizing the Alteration
Refining the Waistband Finish
Once you have stitched the waistband as needed, it’s time to refine the finish for a clean look. Start by unfolding the waistband, if you haven’t already, and smoothing out any wrinkles or bunching. Be sure that all the raw edges are neatly aligned. You’ll want to fold the waistband back along its original crease. Pin this in place to prepare for final stitching.
Sewing the waistband back in place is next. For a discreet and strong finish, you might consider using a topstitch thread that matches the denim. Stitch closely along the edge of the waistband. Pay special attention to ensure the stitches catch all layers of fabric.
Topstitching for a Professional Look
Topstitching is crucial as it not only secures the waistband but also contributes to the jeans’ aesthetic. Choose a thread that either blends in with your jeans or contrasts for a design statement. Set your sewing machine to a longer stitch length, which is better for topstitching thick fabric like denim.
Tips and Tricks for Denim Alteration
Working with Denim Needles and Thick Fabric
When altering jeans, it’s crucial to use the right tools. A denim needle is essential. This needle is stronger than a standard needle. It can handle the heavy fabrics without breaking. When sewing thick layers of denim, make sure you use a denim needle to avoid damage to your sewing machine.
It’s also important to adjust your sewing machine settings for thick fabric. Increase the stitch length and tension. This will help the machine handle the fabric better and prevent skipped stitches.
Managing Metal Studs and Hardware During Sewing
Dealing with metal studs and other hardware on jeans can be tricky. When cutting or sewing, be careful around these hard items. They can damage your scissors or break your needle if not handled carefully.
Always mark the positions of studs on your fabric before starting to sew. Avoid sewing over them. If needed, use pliers to remove studs or buttons temporarily. Just remember to reattach them securely after you’ve finished making your alterations.

Embracing Custom Fit Jeans
When jeans fit just right, they look and feel great. However, ready-made jeans often miss the mark by assuming a standard size that doesn’t fit all.
Understanding the Limitations of Ready-to-Wear Sizes
Most jeans are made to fit a ‘standard’ body shape. But there’s a problem. Everyone’s body is unique. So, many of us find that when jeans fit in the hips, they’re too large in the waist, or vice versa. Realizing that off-the-rack sizes don’t cater to everyone is key. This knowledge is the first step towards finding better fitting clothes.
Building Confidence with DIY Clothing Alterations
Learning how to alter your own clothes can be empowering. It allows you to make clothes fit your body, not the other way around. You take control and can tailor your jeans to your exact measurements. This DIY approach enhances self-confidence. You’ll be proud of not just how you look, but also what you can accomplish with your own hands.