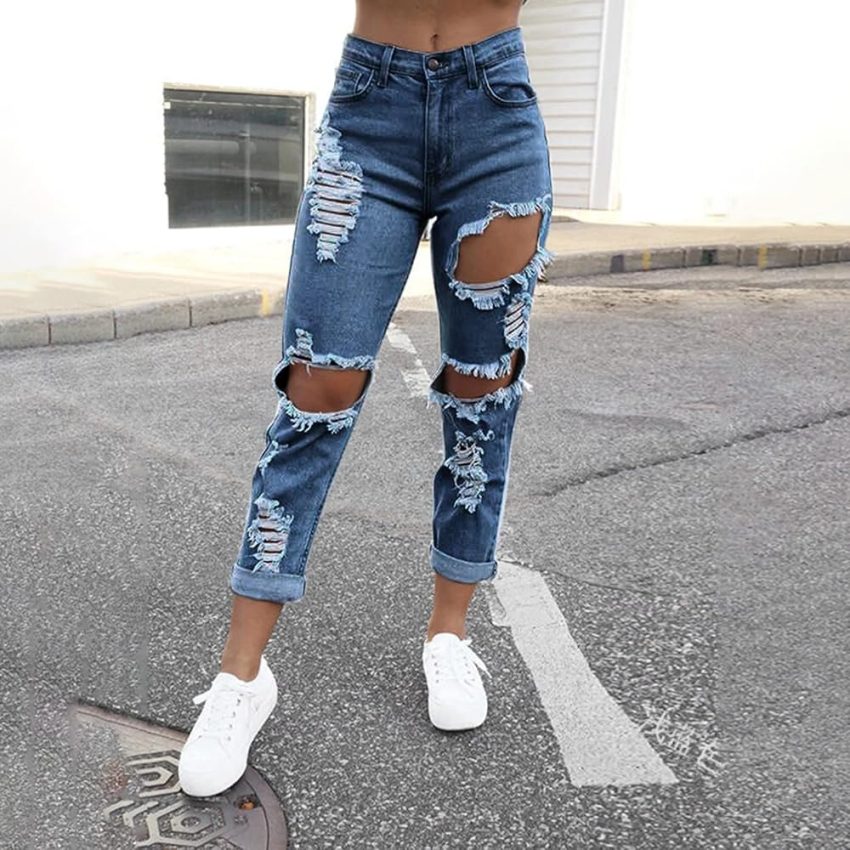
Introduction to DIY Ripped Jeans
How to make ripped jeans? In recent times, the trend of ripped jeans has surged, captivating fashion enthusiasts worldwide. More than a fashion statement, these garments embody a vibe of effortless chic and edgy casualness, appealing to a wide range of style preferences. However, not everyone finds their perfect match in store-bought versions, whether due to size, price, or the specific rip placement they desire. Here’s where the rewarding pursuit of DIY ripped jeans comes into play.
Essential Tools for Creating Distressed Denim
Embarking on the journey of how to make ripped jeans, you first need the right tools. Here’s a basic toolkit to get started:
- Pair of Jeans: Choose a non-stretch, denim pair, possibly one you no longer wear. They will serve as a perfect canvas for your creativity.
- Sharp Scissors: A good pair of scissors is crucial for making precise cuts without fraying the fabric unnecessarily.
- Seam Ripper: Optional, but helpful for starting cuts and meticulous thread removal.
- Chalk or Washable Marker: For marking the areas you will cut, ensuring accuracy in your design.
- Tweezers: These are especially handy for pulling out individual threads once you start distressing the denim.
- Safety Pin: Use this to loosen stubborn threads, a practical alternative to the seam ripper.
Remember, while some of these tools are optional, they can significantly ease the process and enhance your finished product. With your toolkit ready, you’re set to begin transforming your plain jeans into a personalized expression of style.
Preparing Your Jeans for Distressing
Before we dive into the methods of how to make ripped jeans, proper preparation sets the stage for a successful DIY project. Here’s how to ready your jeans for the transformation:
Choose the Right Pair
Finding the ideal jeans to distress is important. Look for a pair of non-stretch denim, as it will hold the tears better and create a more authentic distressed look. If you’re experimenting for the first time, consider an old pair you don’t mind practicing on.

Try Them On
To ensure accurately placed distressing, put on your jeans and feel out the areas where natural wearing would occur. Bending your knees can reveal the best spots for knee rips for a more realistic effect.
Clean and Iron
Before marking and cutting, give your blue jean a wash. Ensure they’re completely dry and ironed flat. This will help in making precise cuts and avoid any unwanted wrinkles that might skew your work.
Mark Your Desired Distress Areas
Use chalk or a washable marker to mark where you want to make your cuts. This step helps visualize your end goal and serves as a guideline during the cutting process.
Proper preparation ensures that the actual distressing of your denim goes smoothly and yields the best results. Once your jeans are ready and your vision is clear, it’s time to start creating your very own DIY ripped jeans.
The Simple Slit Technique
For a subtle and chic look, the Simple Slit technique in how to make ripped jeans is your go-to. This method is beginner-friendly and doesn’t require as many tools.
Marking the Knees
First, slip into your non-stretch denim jeans. Bend your knees to find the natural crease. This is where you’ll mark your jeans with chalk. Aim for a line that sits comfortably over your kneecaps — it’s crucial for getting the perfect placement.
Making the Cut
Grab your sharp scissors and make a horizontal cut along the marked line. If you have a seam ripper, use it to start the incision. It’ll make cutting easier and prevent fabric frays.
Starting to Unravel
Once you’ve made the cut, gently pull out the white horizontal threads. These threads will often stick out from the edges of the cut. Use a safety pin or the tip of the seam ripper to help if they get tangled up.
Continuing the Unraveling Process
Carefully remove more horizontal threads to widen the slit gradually. Pulling gently at both ends of the cut will reveal a distressed look. Do this until you achieve the desired amount of skin exposure. Washing the jeans afterwards will further enhance the frayed appearance.
The Simple Slit technique is an excellent starting point for those learning how to make ripped jeans. With patience and a little creativity, you’ll end up with a pair of personalized outfits with jeans that sport a minimalist, edgy vibe.
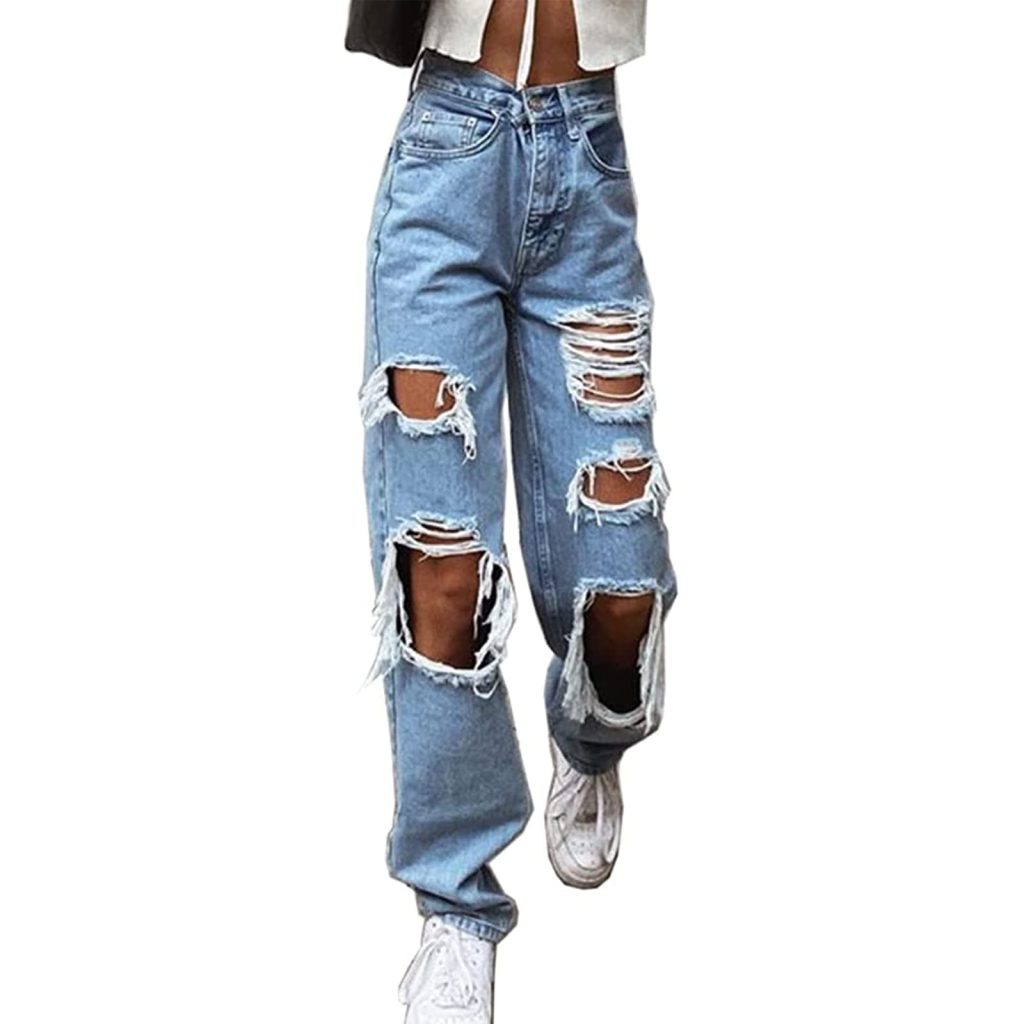
Advanced Technique: The Full Fray
For those who love a bold denim statement, the Full Fray technique elevates the ripped jeans look. This method creates larger, more distinct gaps with threads spanning across, offering a dramatic effect. Let’s walk through how to make ripped jeans with this advanced approach.
Setting Up Guidelines and Initial Cuts
To begin, wear your jeans and mark horizontal lines where you want the ripped areas. Use chalk for clear visibility. Aim to keep these marks on or above the knee for a natural worn-in look. Make two parallel cuts about an inch apart. Ensure the second cut is shorter to avoid over-fraying.
The Unraveling Procedure
Start unraveling by removing white threads from the cuts. Do this carefully to prevent snapping the threads. A seam ripper or safety pin can help. Work on both cuts to loosen the fabric, creating the groundwork for larger holes. A little stretch now and then helps the fraying.
Pulling the Vertical Threads for Effect
Shift your focus to the vertical blue threads. Gently tug at the ends, using tweezers if necessary. This will form the basis of your frayed sections. Remember, the initial pulls might be tougher but keep at it. Aim to create an even pattern.
Perfecting the Distressed Look
Continue the process, ensuring even more threads come loose. As gaps form, control the extent of the fraying based on your style preference. Pull, tweak, and adjust until you reach your desired distress level. A mirror to check your results and patience are key.
Through the Full Fray technique, you can create stunning distressed jeans with a professional touch. Each step completed adds personality to your denim. Whether you aim for subtle elegance or a rugged look, mastering this technique puts you at the helm of your fashion creativity.
Customizing Your Ripped Jeans
Once you’ve mastered the basic techniques of how to make ripped jeans, it’s time to add a personal touch. Customization is all about expressing your unique style and making your distressed jeans truly one-of-a-kind. Here are some tips to help you customize your ripped jeans:
Experiment with Different Rips and Tears
- Vary the Size: Mix large cuts with smaller tears for a varied texture.
- Change the Shape: Instead of straight lines, try diagonal or curved cuts for an organic look.
- Add Interest: Place rips on the thighs, shins, or back pockets to create a unique pattern.
Play with Patches and Embellishments
- Patch it Up: Sew on patches underneath the holes for a peek-a-boo effect.
- Decorative Stitches: Use colorful threads to add embroidery around the rips.
- Beads and Buttons: Attach beads or buttons near the frayed areas for added flair.
Tailor to Your Fit and Style
- Adjust the Length: Crop the jeans to capris or shorts for a different look.
- Slim the Legs: If you prefer a snug fit, take in the legs for a more tapered silhouette.
Add Layers for Texture
- Incorporate Fabrics: Wear tights or leggings under the blue jeans outfit for an extra layer.
- Mesh and Lace: Layer mesh or lace under larger rips for a feminine contrast.
Remember, there’s no right or wrong in DIY fashion. Have fun with the process and make your ripped jeans a reflection of your personality. Once you’re happy with the customizations, you’re ready for the final touches to complete your DIY project.

Washing and Finishing Tips for Distressed Jeans
After mastering how to make ripped jeans, the final step involves washing and finishing. This crucial part ensures your jeans look authentically distressed. Here are some tips and techniques to achieve the ultimate finish:
Wash to Soften Edges
Wash your jeans on a gentle cycle after distressing. This softens the edges of cuts and frays. Slight fraying will add to the natural look of wear as though they’ve aged.
Cold Water for Minimal Shrinkage
Always use cold water to prevent the jeans from shrinking. This helps maintain their size and shape. Consider adding a fabric softener for an extra soft texture.
Tumble Dry for Added Texture
Tumble dry your jeans on a low setting. This will enhance the frayed areas and create a rougher texture. If you prefer, hang them to dry naturally.
Trimming Loose Threads
Post-wash, you may find some extra loose threads. Trim these carefully to tidy up the rips without cutting into the denim.
Final Touches with Sandpaper
For a more rugged distressed look, rub sandpaper over the jeans. Focus on the areas you want to look extra worn. Do this gently to avoid overdoing it.
Try Them On for Fit and Look
Lastly, try on your customized jeans. This will help you see the overall effect and make any last-minute tweaks. Enjoy your perfectly distressed, personalized denim.
By following these washing and finishing tips, you empower your ripped jeans with a professional touch. The result is a stylish, comfortable pair of jeans that reflect your unique fashion sense.
Conclusion: Personalizing Your Denim Fashion
By now, you’ve explored the journey of how to make ripped jeans. You’ve seen the basic slit technique and moved on to the more daring full fray method. The tools and steps provided guide you through the creative process of distressing denim. It’s more than a fashion project; it’s a personal statement.
Each rip, each fray, each unraveled thread weaves into the fabric of your unique style. With every cut, you are not just altering a garment but tailoring it to your personal aesthetic. And the beauty of DIY is in the control it gives you – to choose just how ripped, distressed, or subtly worn you want your jeans to be.
